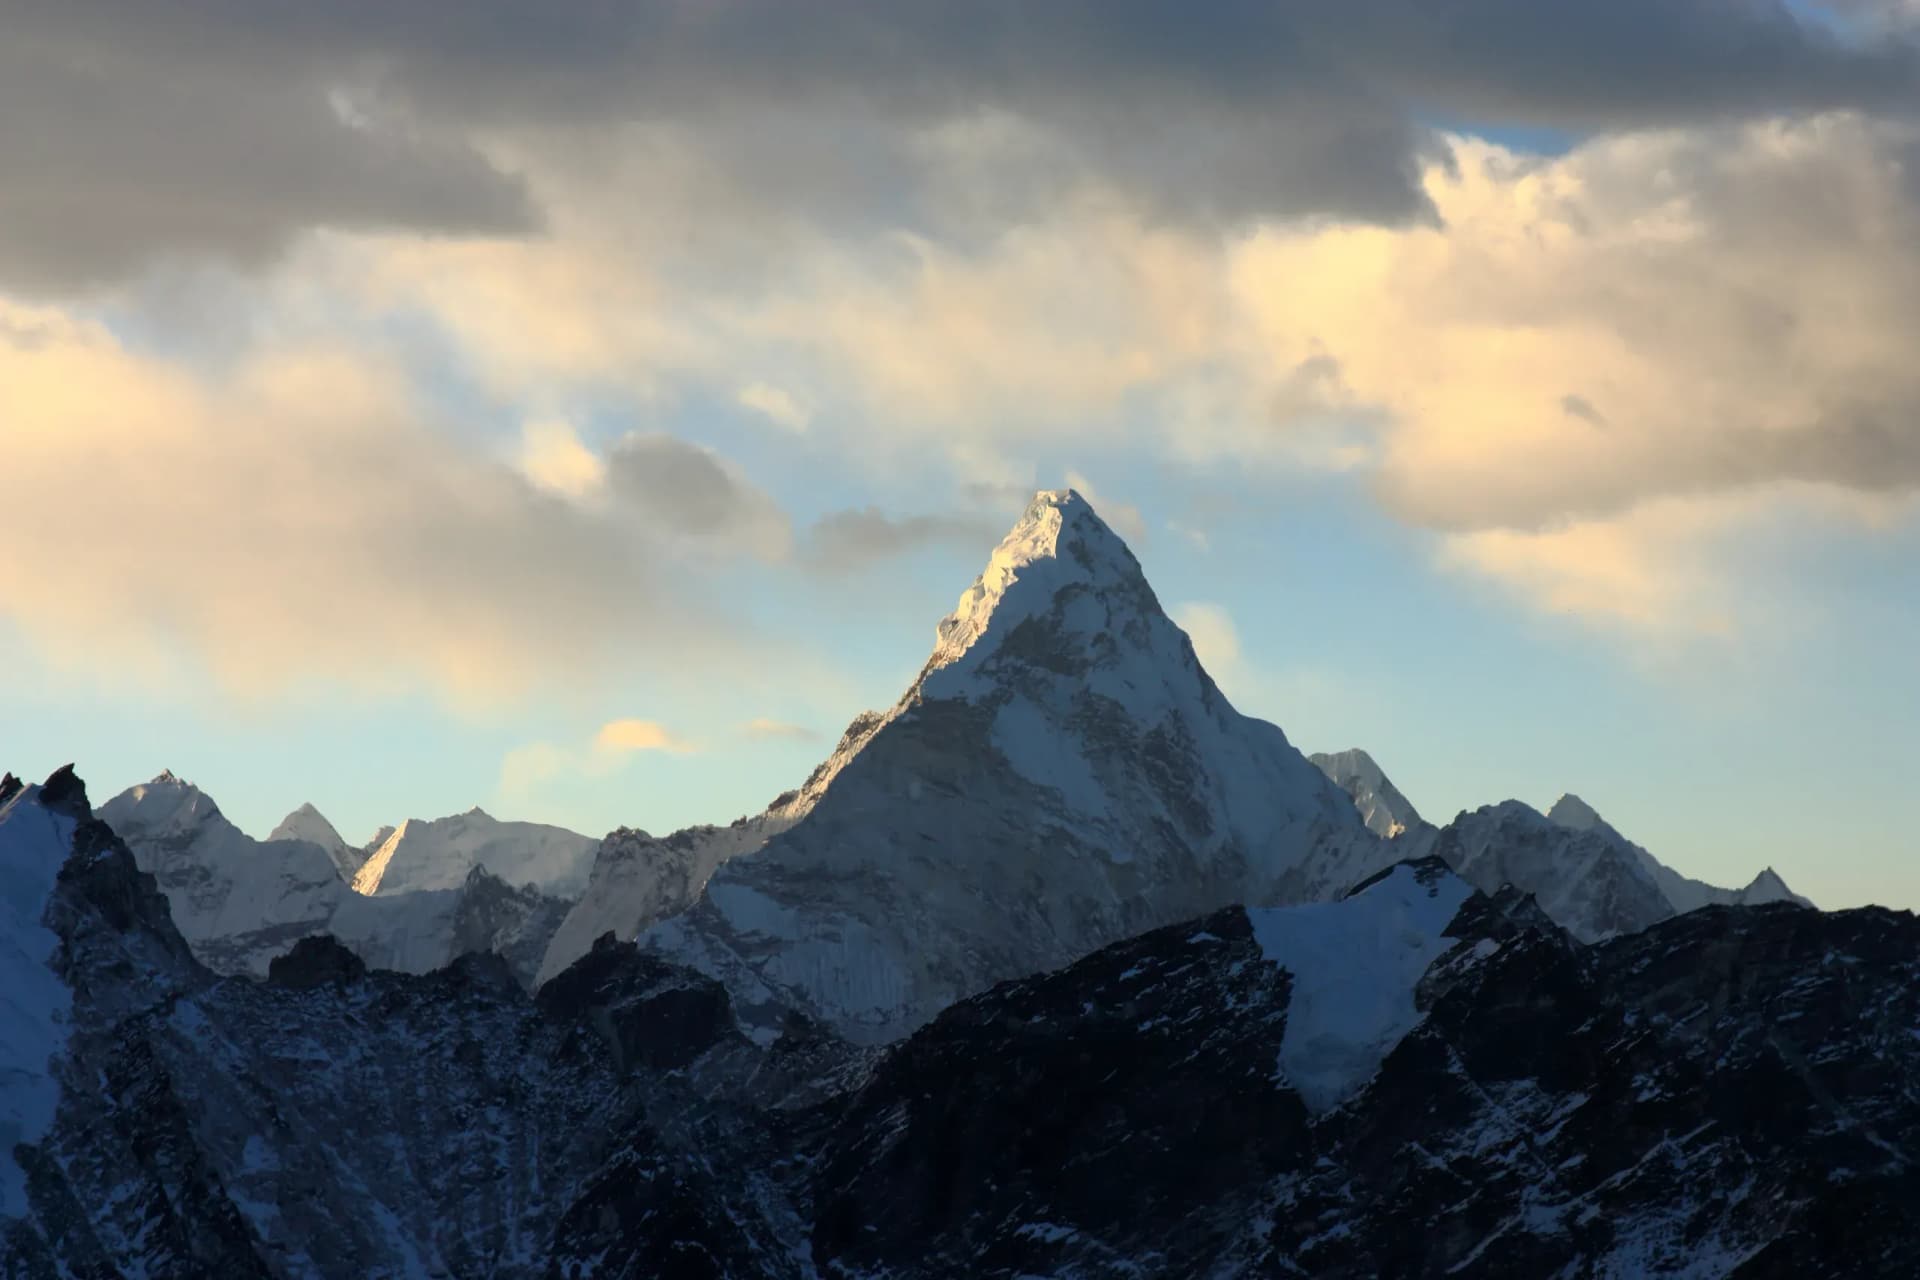
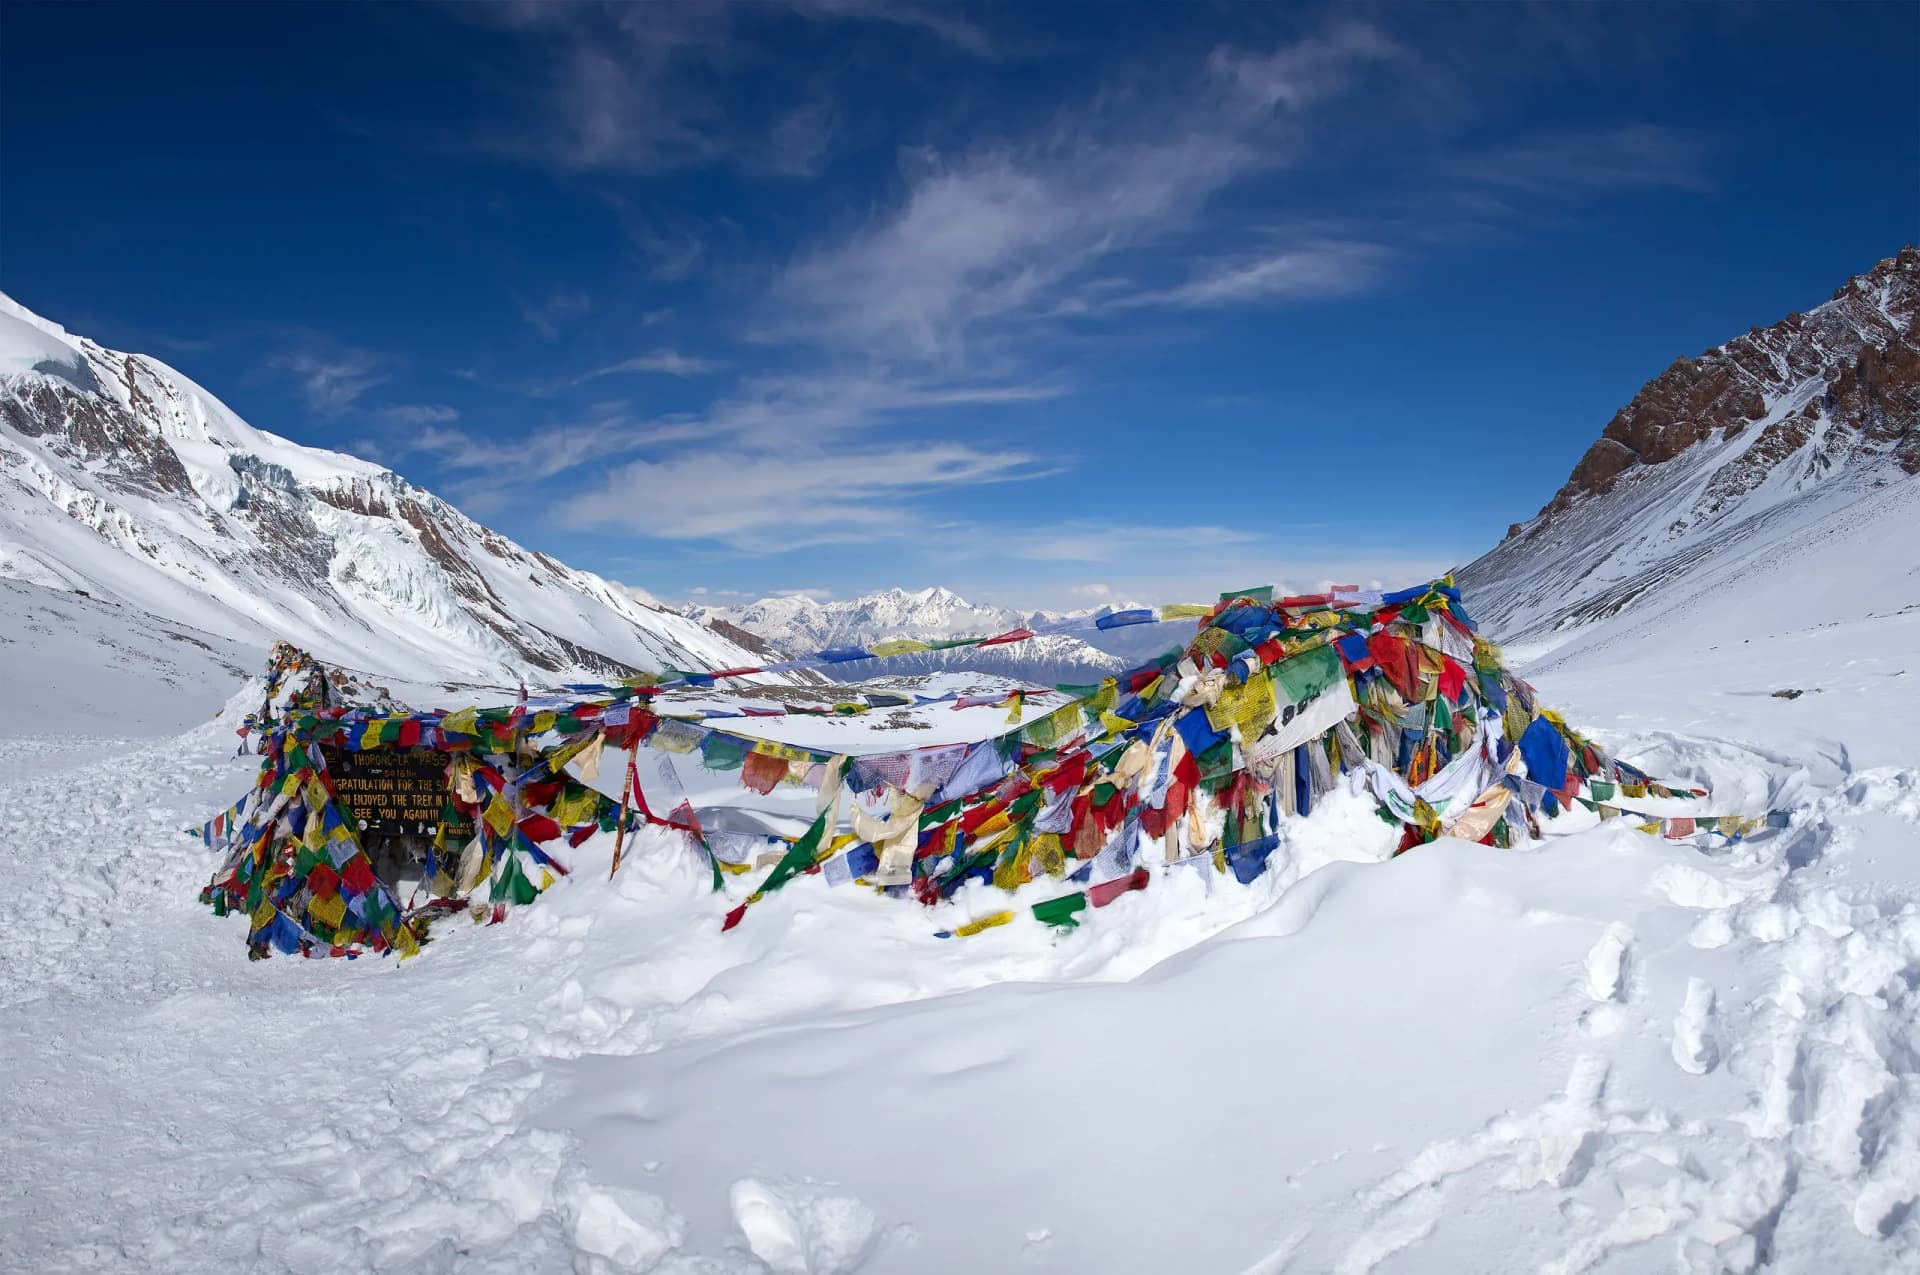
For a teahouse trek in Nepal, pack clothes you can layer, footwear you have already walked in, a sleeping bag suited to your coldest overnight stop, rain protection, a headlamp, safe-water equipment and your personal health supplies. Keep the items you may need while walking in your own daypack. Confirm the route, dates, luggage arrangements and supplied equipment before deciding what to leave at home.
This Nepal trek packing list covers lodge-based walking trips, including the Everest Base Camp trek and Annapurna Circuit. It also explains how to adjust your kit for shorter walks, wet weather and high passes. Camping, glacier travel and climbing require a separate equipment plan.
Start with your actual trek
A checklist becomes useful when you know where you will sleep and how your luggage will move. Before buying equipment, write down:
- Your travel dates and complete walking route, including optional side trips.
- The highest overnight stop, plus any exposed pass or early-morning viewpoint.
- Whether every night has booked lodge accommodation or whether camping is involved.
- Whether you will carry everything yourself or have porter support.
- Any flight baggage restrictions and the luggage limit agreed with your operator.
- Which items are supplied, loaned or rented, and which you must bring.
Pack for the conditions during the coldest part of the trip. A warm afternoon in Kathmandu tells you little about a high lodge bedroom. Nepal's elevation differences create substantial climate differences, and rain or snow can occur during the main trekking seasons. The CDC's Nepal chapter describes both that variation and the possibility of sudden mountain snowstorms.
The best-time-to-trek guide helps with seasonal planning. Your operator still needs to check the weather, trail and accommodation for your departure. A packing list cannot confirm that a pass is open or suitable to cross.
Choose a baseline, then add what the trip needs
| Trip situation | Packing emphasis | Confirm before departure |
|---|---|---|
| Shorter teahouse walk with lower overnight stops | Walking layers, rain protection, warm evening clothes, safe water and daily essentials | Whether a sleeping bag is needed, dawn starts, actual lodge arrangements |
| Everest Base Camp or another trek with high overnight stops | Sleep system, warm insulated clothing, hand protection, sun protection and power management | Coldest sleeping conditions, airline allowance, porter arrangements |
| Annapurna Circuit, Manaslu Circuit or another high-pass itinerary | Cold protection for the crossing, accessible layers, headlamp and a current footwear/traction decision | Snow and ice conditions, suitable equipment, guide's crossing decision |
| Wet-season or persistently wet route | Waterproof layers, dry storage, spare dry socks and a realistic drying plan | Trail access, river or road disruption, insects and lodge availability |
| Winter or unusually cold departure | A separately reviewed sleep and clothing system | Whether the itinerary is appropriate at all; equipment alone cannot make it so |
| Camping, glacier travel or climbing | Expedition-specific shelter, sleep, cooking and technical equipment | A separate list from the responsible operator and technical leader |
These are planning categories, not statements that the named routes have the same conditions. Equipment choices remain conditional on the itinerary.
The core teahouse trekking checklist
The quantities below are an example starting point for a roughly 7-14-day lodge trek, not a universal minimum or a weight guarantee. They assume you can re-wear walking clothes and keep a dry set for sleeping. Increase underwear and menstrual supplies to match your own needs; adapt the rest after checking weather, washing opportunities and drying time.
The layering functions follow REI's clothing guidance. The daily preparedness categories draw on REI's Ten Essentials, adapted here to a guided teahouse trip. The counts and bag assignments are this article's suggested packing approach.
Clothes and footwear
| Item | Example quantity | What to look for |
|---|---|---|
| Walking tops | 2 | Quick-drying fabric; include a long-sleeved option for coverage |
| Walking trousers | 1-2 pairs | Comfortable movement, secure fit and room for layers if needed |
| Base-layer top and bottoms | 1 set | Suitable for the coldest nights; protect a dry sleeping set |
| Fleece or other active midlayer | 1 | Fits over your base layer and under the shell |
| Insulated jacket | 1, warmth chosen for route | Adequate for cold stops and evenings; check fit with other layers |
| Waterproof jacket | 1 | Hood, working zip, sound seams and room for layers |
| Waterproof overtrousers | 1 pair where conditions require | Fit over walking trousers; practise putting them on |
| Walking socks | 3 pairs as a starting point | Fit with your shoes; enough rotation for wet conditions |
| Dry sleeping socks | 1 pair | Keep separate from wet walking socks |
| Underwear and supportive underwear | Personal quantity | A realistic supply for your body and washing plan |
| Warm hat, sun hat and neck covering | 1 of each if needed | Coverage for cold, wind and strong sun |
| Gloves | A light pair plus warmer protection when needed | Check warmth, grip and compatibility with poles |
| Walking footwear | 1 tested pair | Suitable tread, fit and protection for the route |
| Lodge or toilet footwear | 1 light pair | Secure enough for steps and rough paths after dark |
A spare walking outfit does not replace a dry sleeping set. During a long wet spell, an item washed in the afternoon may still be damp the next morning. Pack around the drying conditions you can reasonably expect.
Equipment and personal supplies
| Category | Pack or arrange | Important qualification |
|---|---|---|
| Bags | A fitted daypack, plus duffel if using a porter; waterproof liner or dry bags | Choose capacity after test-packing your actual kit |
| Sleep | Suitable sleeping bag; liner if wanted; earplugs if useful | A liner is an accessory, not a substitute for adequate insulation |
| Water | Refillable bottles or reservoir, suitable treatment and a backup | Match the treatment to the water source and product instructions |
| Light | Headlamp and compatible charging or spare batteries | A phone torch uses the same battery needed for communication |
| Sun | Sunglasses, sunscreen, sun-protective clothing and lip protection | Snow and exposed terrain make coverage especially important |
| Food | Accessible snacks and any dietary items agreed with the operator | Do not assume a specific specialist product will be available |
| Hygiene | Toothbrush, toothpaste, soap, hand hygiene supplies, toilet paper, menstrual supplies and waste bags | Check the disposal arrangements |
| Health | Personal medicines, prescription information, blister care and a tailored first-aid kit | Agree medicines and medical-device needs with a clinician |
| Electronics | Phone, tested cables, suitable adapter and airline-compliant power bank | Charging availability and battery rules need checking |
| Documents | Required identity and entry documents, permits as arranged, itinerary and relevant insurance details | Store sensitive information securely |
| Small repairs | Appropriate tape, spare cord and any item-specific spares | Avoid carrying tools you cannot use or cannot take through security |
| Emergency arrangements | Agreed communication, shelter and group-equipment plan | Confirm who carries shared equipment and how it stays accessible |
Personal health and hygiene categories are supported by the CDC travel health kit guidance. This is not a prescription list.
What stays in your daypack
If a porter carries your main bag, plan as though you will next open it at the overnight stop. Put anything you may need before then in your own daypack, unless your guide has agreed another accessible arrangement.
Keep your shell, warm layer, gloves and headlamp available even if the morning feels mild. Carry your day's water and treatment, snacks, personal medicines, sun protection and small hygiene kit. Keep identity documents, valuables and your phone securely with you.

Source: REI's preparedness categories
A practical three-bag split
| With you while walking | In the main trek bag | Left in town only by arrangement |
|---|---|---|
| Water, treatment and snacks | Sleeping bag and optional liner | Non-trekking clothes |
| Waterproofs and layers needed that day | Spare clothes and the protected dry sleep set | Shoes for onward travel |
| Headlamp and power needed that day | Larger toiletries and reserve hygiene supplies | Unneeded books or duplicate accessories |
| Personal medicines and small first-aid supplies | Spare consumables, packed against leakage | Suitcase or other luggage unsuitable for the trail |
| Phone, documents, valuables and sunglasses | Lodge footwear and towel | Any item accepted under the storage provider's terms |
Town storage is a service to confirm, including security, collection arrangements and what the provider will accept. Avoid leaving essential documents, medicines or irreplaceable valuables in stored luggage.
If you are carrying your whole kit, test the full load on a local walk with climbs and descents. A daypack that feels comfortable with a jacket inside may behave very differently with water, food and your sleeping bag added. Your bag size should follow the contents and carrying arrangement, not a universal litre recommendation.
Build a clothing system you can adjust
A useful system has a next-to-skin layer that manages moisture, an insulating layer and an outer shell against wind and rain. REI explains these three functions; the thickness of each depends on conditions and how warm you run.
For a cold trek, you may need a fleece for walking and a warmer insulated jacket for stops. Those items can serve different purposes. Try the complete system together before travel. The outer shell should close without crushing insulation or restricting your arms.

Source: REI layering guidance
Manage sweat before it becomes a cold problem
Adjust clothing as you walk. If you start sweating heavily, remove a layer or use the garment's ventilation before your clothes become soaked. Add warmth when you stop rather than waiting until you are chilled.
Wool and synthetic base layers offer different combinations of drying, comfort and odour control. Choose something you tolerate against your skin. Heavy cotton clothes that stay wet are a poor main system for cold, damp walking. Keep jeans and bulky casual outfits for time in town.
A down jacket needs protection from rain and wet luggage. Synthetic insulation may suit a wetter trip, though weight and packed size vary by garment. Confirm the actual jacket's condition and warmth instead of choosing by the word "down" alone.
Pack protection for hands, head and face
Test gloves while holding poles, operating zips and handling your bottle. A thin liner may be useful for dexterity but may leave your hands too cold during an exposed stop. For a cold pass day, discuss warmer gloves or mitts and a windproof or waterproof outer option with the guide.
Carry sunglasses that fit securely and provide suitable UV protection. Check how they work with your hat, neck covering and prescription lenses. A spare solution matters if you rely on glasses to see the trail. Contact lens users should take the supplies they need and a backup pair of glasses.
Choose footwear before you reach Nepal
Use footwear you have tested on walks of a similar length and terrain, with the socks you will take. Walk downhill and check whether your toes hit the front. Notice heel movement, pressure points and whether your feet have room after several hours.
REI's footwear guide distinguishes hiking shoes from boots and explains how terrain, load and fit affect the choice. There is no single shoe style that suits every Nepal trek. The decision changes with pack weight, rough ground, cold and snow.
Boots, shoes and socks
A lighter shoe may suit some walking routes and experienced users; a more protective boot may suit colder conditions or a heavier load. Waterproof footwear can help in wet or snowy conditions, while ventilation and drying also matter. Ask for route-specific advice, then choose on fit and proven use.
Bring enough socks to keep a usable dry pair available. Changing into dry socks at the lodge helps you notice rubbing before the next day. Pack blister supplies you know how to use. Deal with a developing hot spot promptly instead of waiting for damaged skin.
Do not rent or buy unfamiliar boots immediately before a long trek if you can avoid it. If your current footwear is nearing the end of its life, replace it early enough to test the replacement.
Poles, gaiters and traction
Poles are an optional aid that many walkers value on long descents. Set their length, practise using the wrist straps appropriately and check that the locking mechanisms hold. Pack them according to airline and security requirements.
Gaiters can help with snow or mud when the route warrants them. Traction devices require a current conditions decision. Microspikes are not interchangeable with mountaineering crampons, and owning either does not make a steep snow slope safe to cross. Confirm compatibility with footwear, practise before the trek and follow the guide's decision about whether to proceed.
No checklist can certify the condition of Thorong La, Larkya La, Cho La or another crossing on your dates.
Select a sleeping bag by its rating and condition
Ask what conditions to expect at the highest overnight stop, whether the room has heating, and what bedding is available. Then choose a sleeping bag with suitable warmth. A photograph of a lodge bed does not establish the warmth of the room.
Check which rating a bag actually displays. REI explains ISO/EN comfort and limit ratings: comfort describes the lowest temperature at which an average colder sleeper is expected to remain comfortable; limit describes a warmer sleeper. Compare the comfort rating if you tend to sleep cold. Neither rating guarantees your comfort in a particular room or set of conditions.
Questions to ask before buying or renting
- Is the displayed temperature a tested comfort rating, a limit rating or the supplier's estimate?
- Is the bag long and wide enough, including when you wear your sleeping layers?
- Is the insulation evenly distributed and adequately lofted?
- Do the zip, hood and drawcords work?
- Is the bag dry, clean and free from damage?
- How will you keep it dry during travel and walking?
- What is the plan if the supplied bag is unsuitable when you inspect it?
A claim that every Nepal trek needs the same minus-temperature bag leaves out route, season, room conditions and the sleeper. This guide deliberately gives no universal temperature rating. Get the recommendation for your itinerary in writing and inspect the actual bag.
A liner can help with cleanliness and may add some comfort, but its claimed warmth increase should not be used to rescue an inadequate bag. Keep a clean, dry base layer and socks for sleeping. Earplugs and an eye mask are optional comfort items.
If you are camping, the sleeping mat and shelter become part of the thermal system. REI's sleep-system explanation shows why bag ratings cannot be separated from the rest of that system. Request a camping list instead of adapting a lodge list by adding a tent.
Plan safe water, food and personal health supplies
Carry a way to hold water, a treatment method appropriate to the source and a backup you know how to use. The CDC Nepal guidance cautions against drinking untreated tap water. Clear-looking water is not proof that it is safe.
Match treatment to the source
| Method | Useful role | Limitation to understand |
|---|---|---|
| Water brought to a boil | Heat treatment, followed by safe cooling and storage | Prevent recontamination; confirm bottle temperature limits |
| A portable filter | Removing organisms within the product's tested capability | Many microfilters do not reliably remove viruses |
| Chemical treatment | A portable treatment or backup, as appropriate to the product | Follow exact dose and contact time; conditions and target organisms matter |
| UV device | Disinfection of water suited to the device | Water clarity, battery power and correct use matter |
| A combined system | Addressing limitations of a single method | Confirm the components work together and practise using them |
Source: CDC Water Disinfection for Travelers. This comparison is not a universal treatment recipe.
Read the manufacturer's instructions before you leave. Know what your filter removes, how it is maintained and how cold affects it. Keep clean bottle rims separate from untreated water. Follow the product's freezing and storage guidance; change the plan if you cannot keep equipment within those conditions.
Pack enough water capacity for the longest planned stretch between reliable refill opportunities, with a reserve agreed for the conditions. Bottle capacity is not a prescribed daily drinking target. Needs vary with exertion, conditions and health. A single litres-per-day rule does not prevent altitude illness.
Snacks should be things you can eat while walking. If you have allergies or a medical diet, discuss ingredients, cross-contact and realistic food availability before booking. Carry essential specialist products if the operator cannot confirm a dependable supply.
Keep a personal health kit accessible
The CDC travel health kit chapter recommends tailoring supplies to health history and trip type. Take your regular medicines, relevant prescription information and clinician-agreed supplies. Keep what you may need during the day with you.
Useful non-prescription supply categories include dressings, blister care, hand hygiene and oral rehydration supplies where appropriate. Ask a clinician or pharmacist about suitability, interactions and use. Check rules for any restricted medicine on your journey, including transit countries.
Do not copy someone else's altitude medicine or antibiotic list. A guide's group first-aid kit does not replace your own prescriptions, and a packing article cannot decide a drug or dose for you.
Warm clothing, fitness, extra water and a pulse oximeter do not make altitude illness impossible. The CDC altitude guidance prioritises acclimatisation and responding to symptoms. Report illness promptly and do not ascend higher with symptoms of altitude illness. Worsening symptoms at the same altitude require descent; confusion, difficulty walking or breathlessness at rest require urgent help and descent as soon as it can be done safely.
Keep the full medical and emergency plan with the people responsible for it. Agree how you will communicate, who carries shared emergency equipment and what happens if batteries, signal or the itinerary fail.
Pack for hygiene and waste as carefully as for warmth
A small wash kit is easier to use than a large bag of bottles. Take a toothbrush, toothpaste, a small amount of soap, a quick-drying towel and hand hygiene supplies. Carry toilet paper in a dry bag, plus separate bags for used hygiene items. Use available toilets and follow local disposal instructions.
Wet wipes, sanitary products and plastic packaging need a waste plan. Leave No Trace advises packing out trash and hygiene products. Calling a wipe biodegradable does not make it appropriate to leave on the trail or put into a toilet.
Menstrual and personal care
Bring the products you already use, enough for a possible delay and bags that close securely. If using a reusable product, plan for clean hands, safe water and the cleaning facilities it requires. Choose another method if those facilities cannot be arranged.
Keep a small daily pouch accessible. Privacy, disposal and handwashing matter as much as the number of items packed. Discuss needs discreetly with the operator before departure if you need a particular arrangement.
For warm lower-elevation days or other travel before and after the trek, consider insect protection. The CDC Nepal chapter advises insect-bite precautions, especially during warmer, wetter months. Your travel health consultation should cover your complete Nepal trip, including lowland or city time.
Washing and keeping a dry set
Ask where washing is appropriate and how wastewater is handled. Even biodegradable soap should stay out of streams and lakes; Leave No Trace's wastewater guidance explains why.
A short cord can help with drying where the lodge permits it. Do not place clothing on heaters or stoves without permission. If you cannot wash and dry a garment, re-wearing it may be more practical than creating another wet item to carry. Protect sleep clothes, spare socks and the sleeping bag inside waterproof storage.
Electronics, documents and baggage rules
Download the route information, accommodation details and essential documents before leaving reliable internet. Save information so you can open it offline. Keep a paper backup of the essential details you need if your phone fails, while protecting personal and financial information.
For insurance, check the policy against your actual activity, maximum altitude, destinations and evacuation arrangements. A card in your wallet does not establish that a claim will be covered. Ask the insurer to resolve unclear wording before travel.
The Nepal trekking permits guide covers the permit question. This packing article only reminds you to carry the documents and copies required for the itinerary; it does not replace current entry or permit advice.
Power and charging
Bring tested cables, a compatible adapter and the power needed between confirmed charging opportunities. On LHJ's Everest Base Camp page, charging above Namche is listed among personal extras. Check your own itinerary rather than assuming charging is included or always available.
Keep a headlamp independent of your phone. Test the charger, cable and power bank together at home. Ask the manufacturer about operating and charging temperatures, and protect equipment from water and impact.
Airline battery guidance checked 26 October 2026: IATA's guidance implementing the March 2026 changes limits personal power banks to two, requires them in cabin baggage with protection against short circuits, and prohibits recharging the power bank on board. It also recommends against using a power bank to charge another device during the flight.
Check the carrier's current watt-hour, storage and use rules for every flight, including transit and domestic sectors. Read the Wh rating on the device; mAh alone is not enough to establish acceptance. IATA says this guidance applies only through 31 December 2026, so trips in 2027 need a fresh check. A power bank accepted on an international flight should not be assumed acceptable on every connecting flight.
Weigh the bags as you will hand them over
Tara Air's published policy, checked on 26 October 2026, lists 10 kg of baggage plus 5 kg of hand carry in its adult USD/Indian fare section. Use this as a carrier-specific example, not a Nepal-wide rule. Confirm the allowance on your own ticket and the rules for excess baggage.

Source: Tara Air's published adult USD/Indian fare policy
Suppose your packed main bag, including the bag itself, weighs 9.2 kg and your packed daypack weighs 4.3 kg. Against that example allowance, the separate headroom is 0.8 kg and 0.7 kg. The combined 13.5 kg total does not let you exceed either individual allowance.
Those are invented numbers for arithmetic, not a measured packing list. Weigh your own bags again after adding chargers, toiletries and last-minute items. Flight check-in weight, trail carrying weight and the operator's porter allowance are different measurements.
If porter support is arranged, confirm your personal luggage limit and how the total load is managed. Avoid treating a published maximum as a target. Do not assume unused flight allowance can be added to a porter's load.
What to bring, rent, buy locally and leave
Bring fit-sensitive items early enough to test them. For many travellers, footwear, socks, base layers, underwear, prescription glasses and personal medical supplies belong in that category.
Rental can reduce the equipment you buy for a single trip. G Adventures' Nepal trekking guide discusses rental options, but availability, quality and the terms of an individual rental still need checking. No rental price or LHJ-supplied item is promised here.
A rental inspection is part of the plan
| Item | Reason to consider rental | Inspect or confirm |
|---|---|---|
| Sleeping bag | Bulky item you may use infrequently | Actual rating, fit, loft, dryness, cleanliness, damage and zip |
| Insulated jacket | Avoid buying an infrequently used cold-weather item | Warmth for the trip, fit over layers, insulation, hood and closures |
| Poles | Useful if you want to try them before buying | Length, grips, locks, tips and airline packing |
| Duffel | May suit the agreed porter system | Size, closure, handles, water protection and identification |
| Traction equipment | Only if the route and conditions require it | Correct type, footwear fit, condition, instruction and guide approval |
Ask about collection time, return time, deposits, damage terms, cleaning and what happens if the promised size is unavailable. Inspect the actual item while you still have time to change the plan.
Consumables such as soap or tissues can often be bought during travel, but do not depend on finding a particular brand, prescription or specialist size at the last minute. Buying locally does not remove the need to check quality and suitability.
What to leave out of a normal teahouse bag
Leave heavy jeans, duplicate outfits, large cosmetics bottles and electronics you will not use. A tent, stove and full cooking set usually belong to a camping plan, not a booked lodge trek. Confirm that the accommodation plan is complete before removing shelter from the group equipment discussion.
Avoid packing unfamiliar medical devices simply because a generic list includes them. Do not carry oxygen cans as reassurance that you can continue an unsuitable ascent. Pack the equipment your trip requires, with people who know how to use it and a plan for when it is insufficient.
Take a small amount of repair material relevant to your own kit. Check aviation rules before packing knives, tools, stove fuel or other restricted items. A web checklist does not authorise an item through security.
Adjust the list for your route and season
Keep the core system, then change the warmth, water protection and supplies around the actual itinerary. Resist the assumption that every trek in a region has the same needs.
Everest Base Camp and other high overnight routes
Put more attention into sleep warmth, gloves, exposed-skin protection and charging between stops. If flying to Lukla, weigh bags against the booked carrier's allowances. Verify porter support on the selected trip: LHJ's current EBC page distinguishes tiers and does not include a porter in every option.
A scenic side trip may change the start time and exposure. Confirm the full day plan rather than packing only for the village where you sleep.
Annapurna Circuit, Manaslu and high passes
Check how early the crossing starts, which layers stay with you and what the guide recommends for current snow or ice. Wet lower valleys and cold high country can appear on the same itinerary. Waterproof packing protects the layers needed later.
Do not infer a lighter sleep system from a warm lower-valley forecast. The highest overnight stop deserves its own discussion. A guide may change or cancel a crossing even when the group has the intended equipment.

Shorter and lower teahouse treks
You may be able to reduce some cold-weather bulk after confirming overnight conditions, but keep rain protection, safe-water equipment and a light. A dawn viewpoint or exposed ridge can change what you need during an otherwise short trip.
Pack for walking comfort and a usable dry set at the lodge. A shorter trek does not make untested footwear or a missing rain jacket less troublesome.
Monsoon, winter and transition periods
In wet conditions, prioritise waterproof storage, skin and foot care, and a drying plan. Check the whole journey for transport or trail disruption. Rain protection cannot resolve flood, landslide or river-crossing hazards.
For winter or an unusually cold shoulder-season trip, ask for a separate equipment review. Increase warmth where the actual conditions require it and reassess whether the route should run. Seasonal labels are broad planning aids; your dates and elevations determine the detail.
Check the full kit before departure
Lay everything out and sort it into walking kit, overnight kit and optional items. Check the actual itinerary against each category. Then pack, weigh and walk with the load.
- Try all layers together, including the shell, gloves and headwear.
- Walk uphill and downhill in the footwear and socks you will use.
- Check sleeping-bag fit, condition and the meaning of its temperature label.
- Practise water treatment and check the backup method.
- Test your headlamp, power bank, cables and offline documents.
- Put daily medicines, water, light and weather protection where you can reach them.
- Confirm supplied gear, porter arrangements, bag limits and storage in writing.
- Refresh airline battery and baggage rules, then check the departure weather and route advice.
Use the separate printable checklist to tick off the items once those decisions are settled. When comparing a trek proposal, ask for the exact equipment responsibilities alongside the route and accommodation. The Everest Base Camp and Annapurna Circuit pages show the trip options; the final packing instructions should match the option and dates you book.
Frequently asked questions
What should I pack for trekking in Nepal?
Start with tested footwear, adjustable walking layers, waterproofs, a suitable sleeping bag, headlamp, safe-water equipment, personal health supplies and documents. Add cold, wet-weather or technical items after confirming the itinerary. This list assumes lodge-based trekking.
Do I need a sleeping bag for a teahouse trek?
Confirm the room conditions and bedding with the operator. For cold overnight stops, choose a suitable bag even if blankets are available. Check the actual comfort or limit rating and the condition of a rental. No single temperature rating suits every Nepal trek.
Can I rent a sleeping bag and down jacket in Nepal?
Rental is an option described in G Adventures' Nepal trekking guide. Confirm availability, size, rating, condition, collection and return terms before depending on it. This article does not promise LHJ supplies or rents either item.
How big should my daypack be?
Choose it after packing the items you need while walking, including water, layers, headlamp and personal supplies. Fit and comfort with the full load matter more than a standard litre recommendation. Carrying all your equipment requires a different bag decision.
Are trekking boots compulsory?
The right footwear depends on the route, load, conditions and your feet. Tested hiking shoes suit some trips; other itineraries need more protection or compatible snow equipment. Get route-specific advice and avoid starting in untested footwear.
How much luggage can I take on a Lukla flight?
Check your booked airline and ticket. On 26 October 2026, Tara Air's adult USD/Indian fare policy listed 10 kg of baggage plus 5 kg of hand carry. That is a dated carrier and fare example, not a guarantee for every Lukla flight or a porter luggage limit.
Is a water filter enough?
Not every filter addresses the same organisms. Many portable microfilters do not reliably remove viruses. Choose a method or combination appropriate to the source, follow the product instructions and carry a workable backup.
Should I carry altitude medication?
Discuss that with a qualified clinician who knows your health and itinerary. Take medicines prescribed or recommended for you and understand how to use them. Medication and equipment do not replace acclimatisation or the need to stop ascent and seek help when illness develops.
Can I take a power bank on my flights?
Check each carrier's current rules. The IATA guidance checked for this article requires cabin carriage and short-circuit protection, limits personal power banks to two and prohibits recharging them on board. Watt-hour and use restrictions still need confirming; refresh the guidance for 2027 travel.
Sources
Sources were checked on 26 October 2026. Equipment counts and the worked bag weights are editorial examples. A source check does not establish current LHJ inventory, individual medical suitability or conditions on your departure.
- REI: layering basics, clothing functions and adjustment.
- REI: choosing hiking boots and shoes, fit, terrain and footwear selection.
- REI: choosing a backpacking sleeping bag, ratings, fit and sleep-system limits.
- REI: Ten Essentials, adaptable preparedness categories.
- CDC Yellow Book: Nepal, country context, water and seasonal precautions.
- CDC: Water Disinfection for Travelers, treatment capabilities and limitations.
- CDC: Travel Health Kits, individual health-kit planning.
- CDC: High-Altitude Travel and Altitude Illness, acclimatisation and illness response.
- Tara Air: policy, the dated adult baggage example.
- IATA: Changes Regarding Power Banks, 2026 passenger battery guidance.
- Leave No Trace: dispose of waste properly, waste, hygiene products and wastewater.
- G Adventures: Nepal trekking packing guide, attributed rental context.
- Thorong La photograph by Solundir, reused under CC BY-SA 3.0, resized and converted to WebP.
For a correction, identify the section and the source that changes it through LHJ's contact page. Baggage, battery, rental and route advice should be checked again for the booked departure.
Something here out of date or wrong? Tell us and we will check it.